
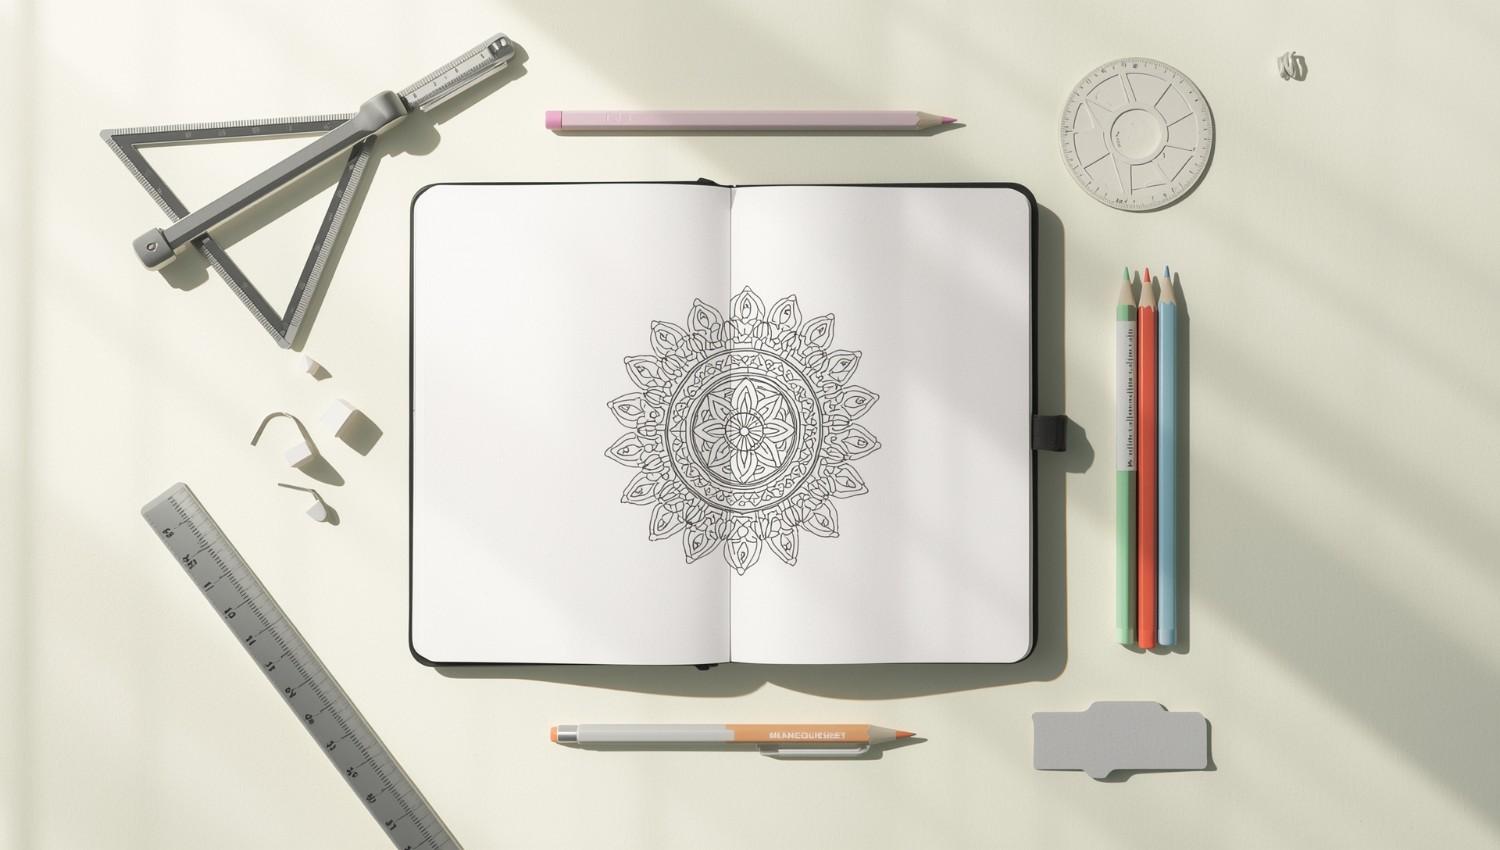
We are presenting The Easy Mandala Art for Beginners — a simple and creative way to start your journey into traditional and relaxing mandala drawing. Mandala art has been respected for centuries across cultures as a symbol of balance, unity, and reflection. The word mandala comes from Sanskrit, meaning “circle,” but it is more than just a geometric shape. Traditional mandalas, found in Indian, Tibetan, and Buddhist traditions, stand for the universe, inner peace, and the connection between oneself and the world. For beginners, creating a mandala can feel overwhelming because of its detailed patterns, but the process is actually calming and enjoyable. With simple tools, patience, and practice, anyone can learn to make mandalas. This guide will show you, step-by-step, how to draw your first mandala while keeping its traditional meaning in mind.
Thank you for reading this post, don't forget to subscribe!Tools You’ll Need Before we start, gather these simple supplies:
")
- A drawing sheet or sketchbook
- A compass (or any round object like a bowl),
- A ruler, Pencil and eraser,
- Black fine liner pen or marker,
- Colored pencils or pens (optional, for decoration).
Mandala Art Steps:
")
Step 1: Prepare Your Base Circle:
Traditionally, mandalas start with a circle that stands for wholeness and the universe. Use your compass (or trace a round object) to draw a big circle in the center of your paper. This will be your outer edge.
Step 2: Divide the Circle:
Use your ruler to draw straight lines through the center to divide the circle into equal sections (like slicing a pizza). You can start with 6 or 8 parts—this makes the design balanced and easier to build on.
Step 3: Add Concentric Circles:
Inside your large circle, draw smaller circles at even distances apart. These rings form layers for your designs. Traditional mandalas are built layer by layer, starting from the center outward.
Step 4: Begin from the Center:
In many cultures, the mandala starts with a central point, showing the start of life. Start by drawing a small flower, star, or shape in the middle of your circle. This will become the “heart” of your mandala.
Step 5: Add Patterns in Layers:
Now, work outward from the center. Fill each section of your rings with simple patterns—petals, triangles, dots, teardrops, or waves. Repeat these shapes in a steady way around the circle.
✨ Tip: Repeating the same pattern in each section helps keep your mandala balanced.
Step 6: Outline with a Fine Liner:
Once your pencil sketch is finished, trace over the design with a fine liner pen or black marker. This gives your mandala a sharp, bold look. Erase any leftover pencil marks.
Step 7: Add Details & Colors:
Traditional mandalas are often left plain, but you can add color if you like. Choose calm shades like blues, greens, and earthy reds, or use just black and white for a more classic look.
Benefits of Making Mandala Art:
- Meditation & Calm: Repeating patterns help you focus and reduce stress.
- Creativity Boost: Trying new designs enhances your art skills.
- Artistic Connection: Making mandalas lets you connect with old traditions from India and Tibet.
- Inner Healing: Many people use mandala art as a way to heal and show their feelings.
Traditional Meaning of Mandalas:
In Buddhist temples, mandalas are carefully made with colored sand, only to be swept away after—showing that nothing lasts forever. In Indian traditions, mandalas often stand for spiritual growth and order in the universe. By learning this art, beginners are not just drawing but also connecting to a deep history of spirit and care.
Final Thoughts:
Mandala art is not about being perfect; it’s about expressing yourself and reflecting. With every petal and circle, you create harmony and balance on paper. Beginners should start small, focus on simple designs, and slowly try more detailed patterns. Whether you keep your mandala in black and white or add color, remember each piece is special and personal. By following this step-by-step guide, you are joining in an old tradition while making something truly your own.